Exploring Vintage Photography — A Comprehensive Overview of Timeless Images
Vintage photography holds a unique place in visual culture, blending craft, chemistry, and patience to create images with enduring character. This overview explains how film processes work, why certain looks persist, and how to start using analog techniques alongside digital tools used by photographers today.

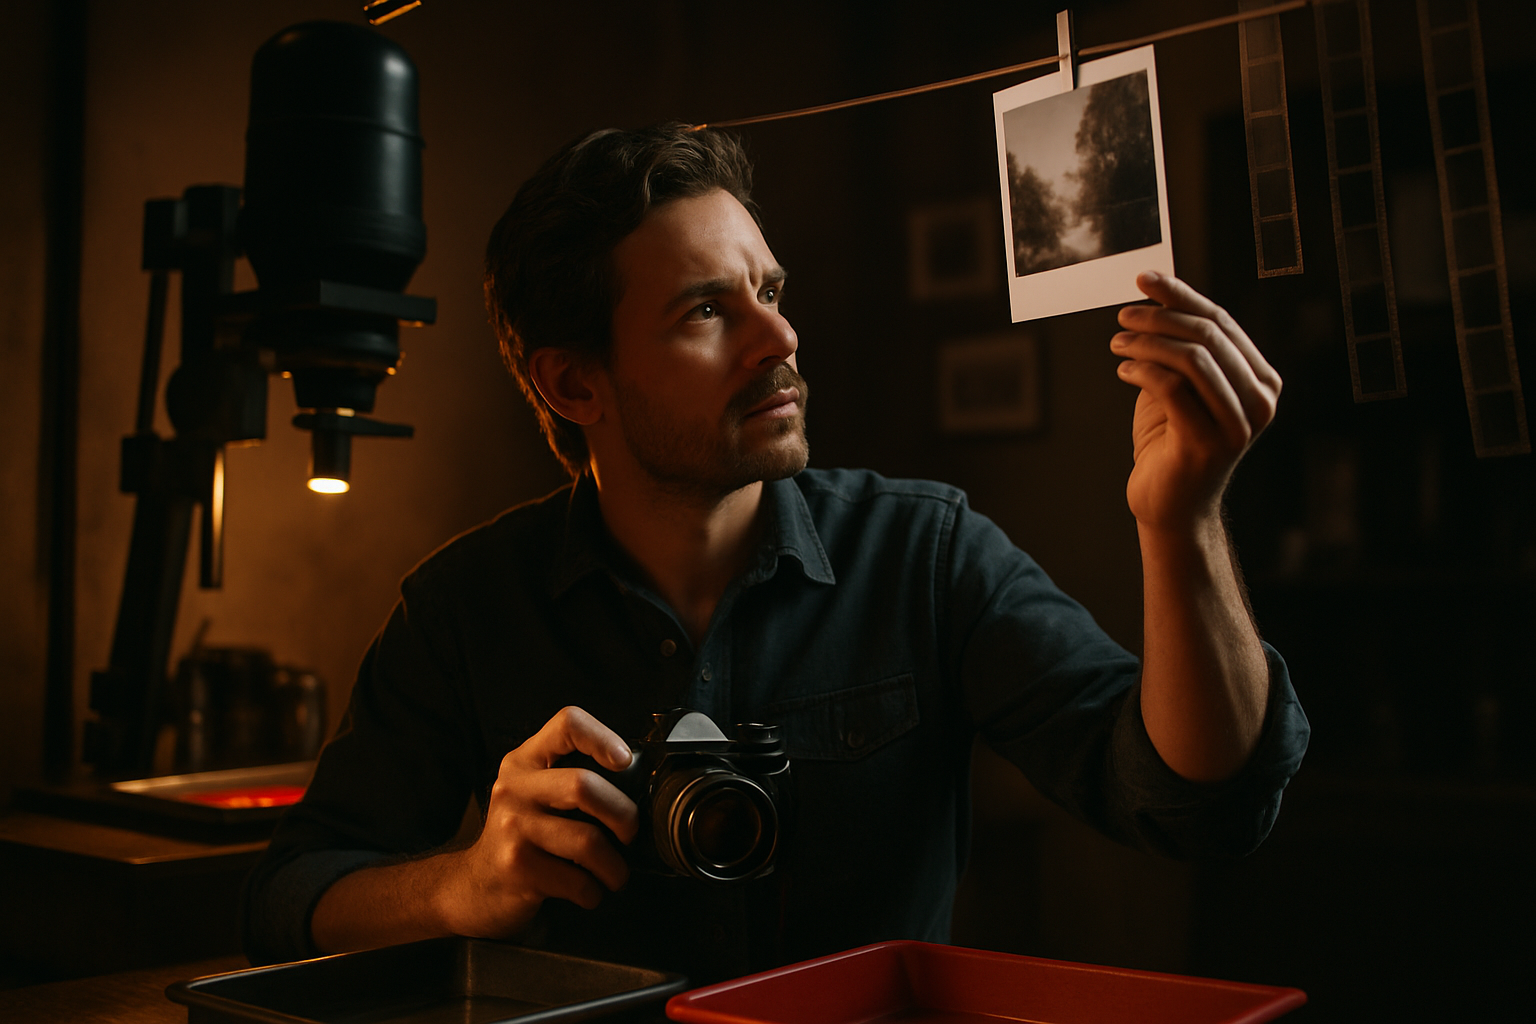
The enduring appeal of vintage photography comes from how it slows the act of seeing. Working with film introduces deliberate choices—stock, speed, meter reading, and development—that shape the final image as much as composition and light. Rather than chasing instant results, many creators value the tactile workflow and the unexpected nuances that emerge from physical materials. This article surveys the qualities that define Film Photography, practical steps for Learning Film Photography, and ways to integrate Vintage Image Photography into a modern, hybrid process.
What defines film photography today?
Film photography begins with light-sensitive emulsions coated on a plastic base. When exposed and developed, those emulsions render an image as a negative (for color or black-and-white) or as a positive in the case of slide and instant films. Common formats include 35mm, 120/medium format, and large format sheet film. Each format affects resolution, depth of field control, and handling, with larger formats generally offering smoother tonality and more detailed enlargements.
Beyond format, film stock selection drives a distinctive look. Color negative films often provide generous exposure latitude and natural highlight roll-off, while slide films deliver high contrast and vivid color but require tighter exposure control. Black-and-white stocks vary in grain, contrast, and spectral sensitivity. The physical character of halide crystals, the chemistry of developers, and the scanning or printing method all contribute to results that remain difficult to replicate precisely with digital tools.
A core difference from digital capture is that ISO on film is fixed by the stock you load. You can rate a film differently to influence exposure and then adjust during development (pushing or pulling) to change contrast and effective speed. The slower, constraint-driven process can encourage pre-visualization, careful metering, and thoughtful sequencing of frames, which many photographers find creatively rewarding.
Learning film photography: where to start
Getting started begins with a reliable camera that suits your goals and maintenance comfort. Fully mechanical 35mm cameras offer simplicity and portability; medium format systems provide higher detail for portraits and landscapes; instant cameras deliver tangible prints and quick feedback. Whatever you choose, verify shutter speeds, light seals, and meter function where applicable. Pair the camera with one or two lenses—often a normal prime around 50mm (or its equivalent)—to focus on fundamentals before expanding your kit.
Next, choose a film stock that matches your lighting and taste. For daylight work, many photographers begin with ISO 100–200 color negative film due to its forgiving exposure latitude. For hand-held indoor or low-light scenes, ISO 400 black-and-white or color stocks offer flexibility. Learn the “Sunny 16” guideline and practice incident or reflected metering to build consistency. Keep notes on exposure settings, and bracket sparingly when testing a new stock to understand how it responds to over- or underexposure.
Processing closes the loop. You can use local services in your area for development and scanning, or explore home processing—black-and-white is typically the most approachable starting point. When scanning, decide whether you want lab-provided JPEGs for convenience or higher-resolution files (TIFF or DNG) for deeper editing latitude. Establish a clear file-naming and folder structure so you can track film stock, exposure notes, and development specifics across multiple rolls.
Vintage image photography in a digital workflow
Vintage Image Photography and digital tools are not mutually exclusive. A hybrid workflow lets you capture on film, digitize the negatives, and complete color correction, dust cleanup, and final output on a computer. Consistency starts with a well-exposed negative and a clean scan. Compressed, low-resolution scans are useful for contact sheets and quick sharing, while higher-resolution scans preserve detail for larger prints or cropping flexibility. Color management matters: calibrate your display, apply appropriate color profiles, and avoid heavy-handed edits that erase the qualities you chose film for in the first place.
Dust and scratches are a common concern. Handle negatives with clean gloves, use anti-static tools, and store film in archival sleeves. Some scanning systems support infrared-based defect removal for color and chromogenic black-and-white films; traditional silver-gelatin black-and-white generally needs manual retouching. After scanning, non-destructive editing with careful curves, white balance, and gentle local adjustments preserves a film’s characteristic grain, contrast, and tonal roll-off.
Archiving is the final step. Maintain two copies of your digital files—onsite and offsite—and consider a cataloging system that records camera, lens, film stock, exposure index, development notes, and scanning details. Physically store negatives in cool, dry conditions in archival enclosures. If you rely on lab services in your area, ask how long they keep digitized files and whether they return or retain your negatives. Clear records make it easier to replicate looks, refine your process, and build a cohesive body of work over time.
Conclusion Vintage photography continues to thrive because it offers a different tempo and set of creative constraints. By understanding how film formats, stocks, and development choices influence results, and by adopting a straightforward approach to metering, scanning, and archiving, you can integrate analog craft into a modern practice while maintaining the qualities that make film imagery feel timeless.


